Build and sell a bundle
A bundle sells several of your published courses under one price. A buyer gets access to every course inside it. The bundle itself has no certificate.
A bundle has no certificate of its own
Open Bundles and start a new one
Click Content in your sidebar, then open the Bundles tab. Click New Bundle. If you have none yet, the button reads Build Your First Bundle.

Fill in the bundle details
Under Bundle details, enter a Title, a URL slug, and a Description. The slug fills in from the title, and you can change it. The public page lives at /bundles/your-slug. If the slug is taken, you are asked to try another.
There is no cover image field yet. You add that after you create the bundle.
Set the price
Under Pricing, choose Free or Paid. A paid bundle has one Price (USD) for the whole set, at least $0.50. It is not prorated.
Paid is only available when payments are on for your account and your Stripe account is connected. Otherwise the form says “Connect your Stripe account in Settings to sell paid bundles.” See Get paid and refund a buyer.
Pick the courses and set their order
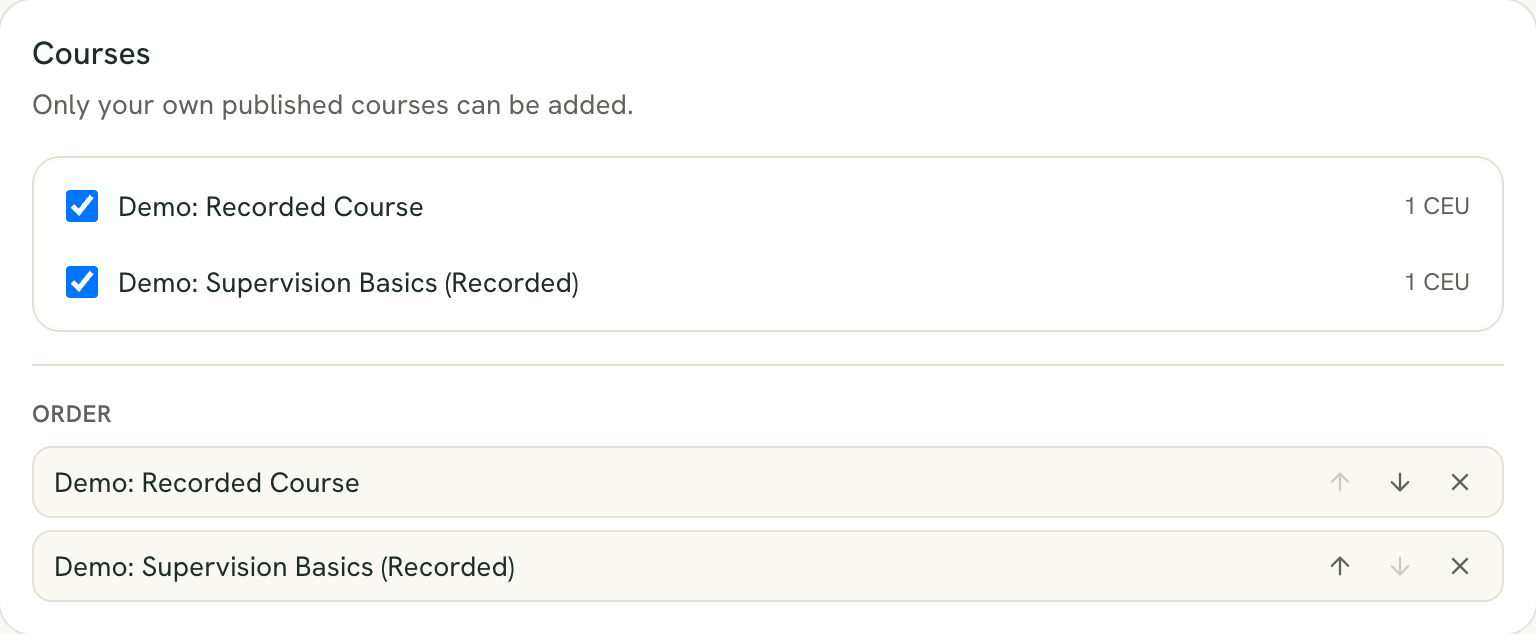
Under Courses, check each course to include. The list only shows your own published courses. A course with no recording but a published quiz shows a Quiz only badge. Courses for RBT PDUs can’t be added to a bundle, because a bundle’s total is shown and sold as CEUs.
Once you check courses, an Order list appears. Use the up and down arrows to reorder and the X to remove. A summary line shows the course count, total CEUs, and your price. You need at least one course.
Click Create bundle.
Add a cover image and edit details
On the bundle’s page, click Edit details. You can change the Title, URL slug, Description, and pricing, then click Save Changes.
The Cover image is on the same page. Use a 16:9 image at least 1280 by 720. PNG, JPEG, or WebP up to 5MB. It shows on the bundle card and the public page. The image saves the moment you upload or remove it. You don’t need to click Save Changes for it.
Manage the lineup
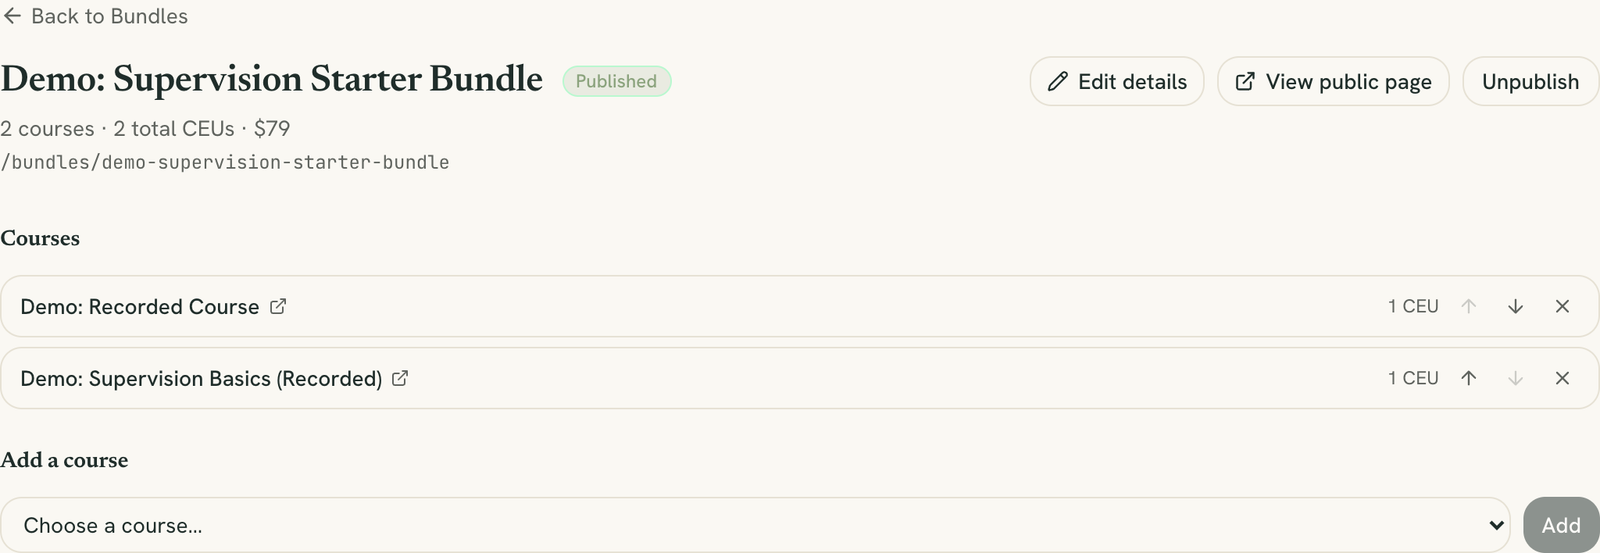
On the bundle’s page, Courses lists what is inside. Use the arrows to reorder and the X to remove one. A course you unpublished later shows an Unpublished badge. Under Add a course, pick one from Choose a course… and click Add.
- Adding a course to a bundle that already has buyers gives those buyers access to the new course.
- Removing a course does not take away access a buyer already has.
- A buyer who already owned a course on its own keeps it as their own purchase.
Publish
Click Publish at the top of the bundle’s page. It needs at least one course. The status badge changes from Draft to Published, and View public page appears. Click Unpublish to take it back to draft.
See your buyers
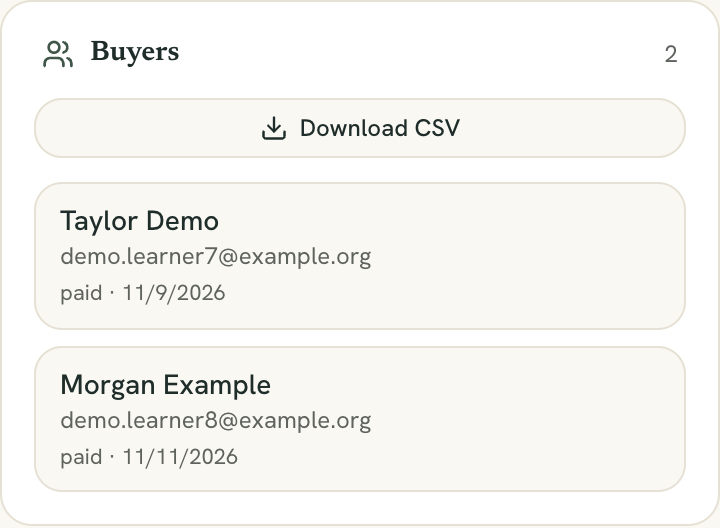
The Buyers panel on the bundle’s page lists each buyer’s name, email, payment status, and date, with a count at the top. Click Download CSV for a file with Name, Email, Payment Status, and Registered At.
To refund a bundle buyer, see Get paid and refund a buyer. To price the individual courses, see Price your course.
Still stuck? Contact support and we'll help.