Share files with conference registrants
The resource hub is one page of handouts, workbooks, and links for everyone registered for your conference. You choose what goes in it and when each item unlocks. Only registered attendees can open it.
This may not be turned on for your organization
Open the resource hub
Open your conference from Content, then the Conferences tab. Click Resources in the row of buttons at the top. The page is titled Resource hub.
Click View the hub as attendees see it at any time to check your work. You see a note that you are viewing as the host. Locked items stay hidden from attendees until they unlock.
Add a file or a link
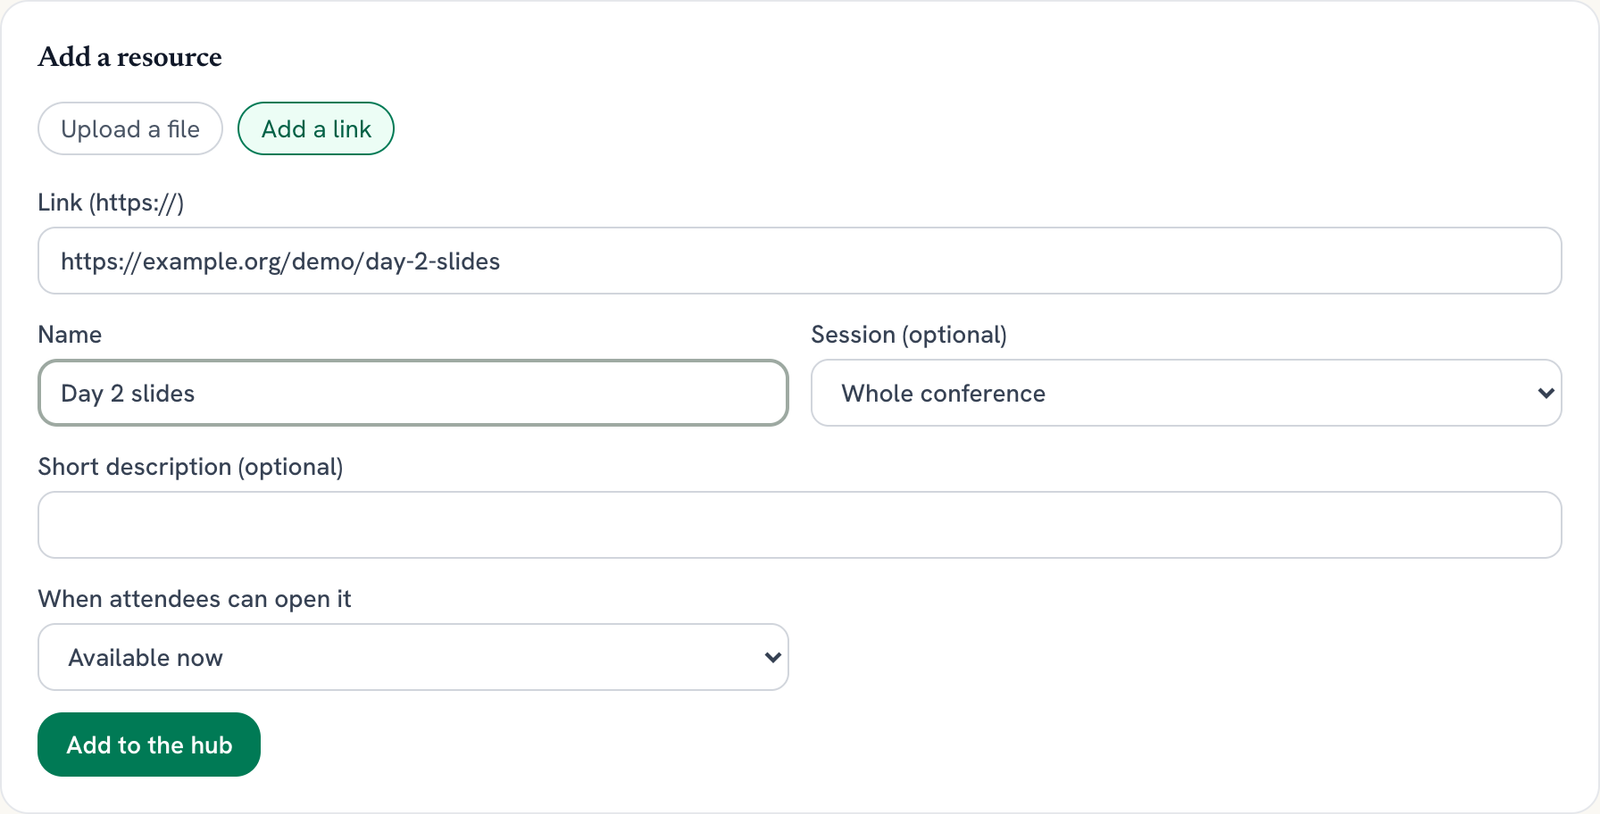
Under Add a resource, choose Upload a file or Add a link.
- File: a PDF, Office file, image, or zip, up to 50 MB. If you leave the name blank, the file name is used.
- Link: a web address that starts with https://.
Then fill in:
- Name, for example “Day 1 workbook”.
- Session (optional): leave it on Whole conference, or pick one session to file it under.
- Short description (optional).
- When attendees can open it: see the next step.
Click Add to the hub.
Choose when it unlocks
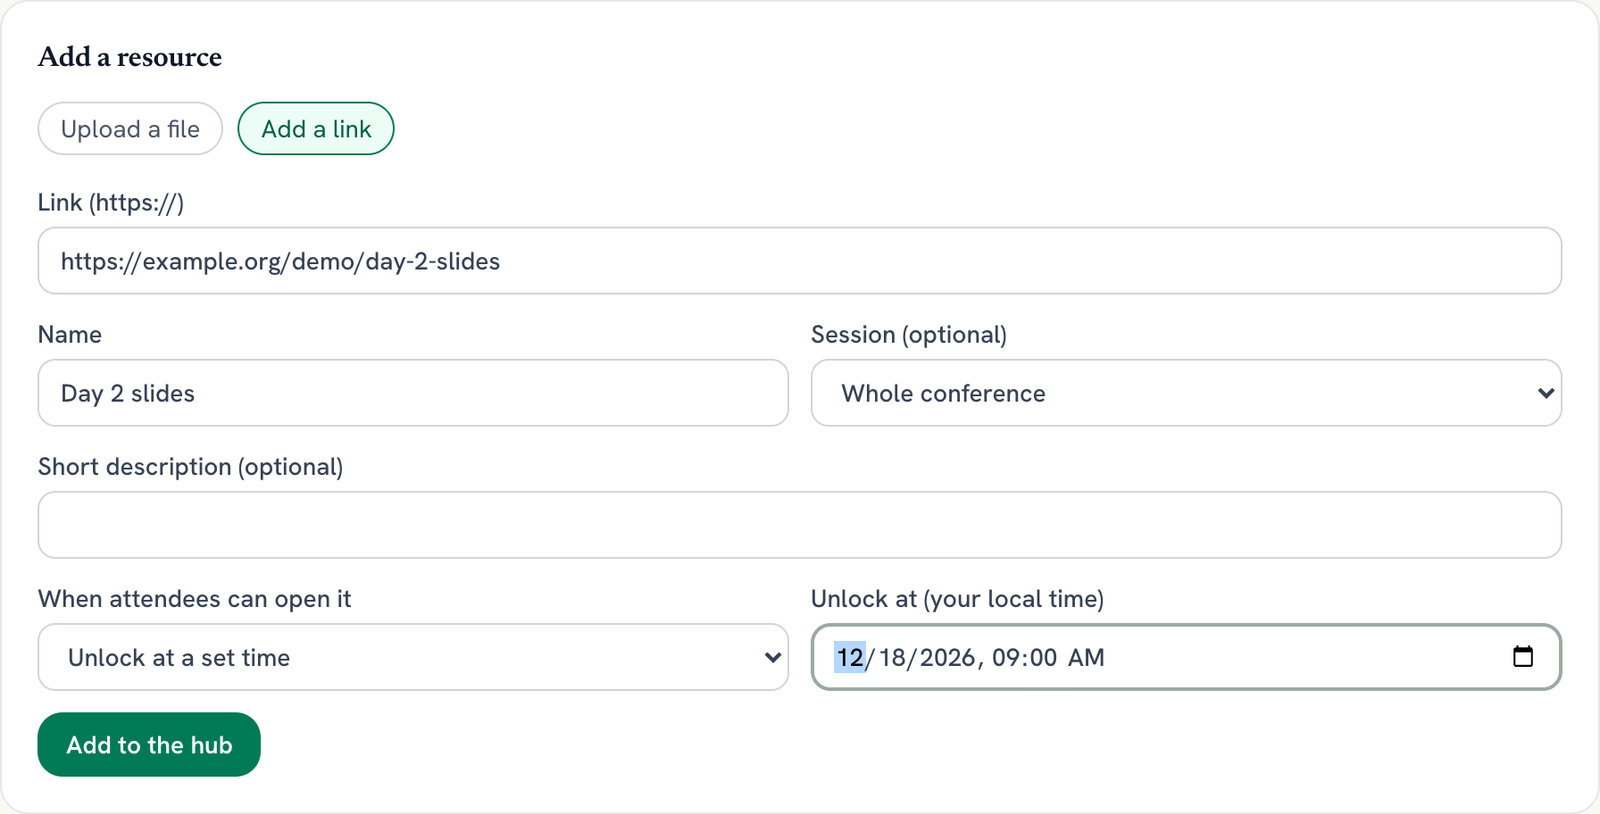
When attendees can open it has three choices:
- Available now: attendees can open it right away.
- Unlock at a set time: pick the date and time in Unlock at (your local time). It opens by itself at that moment.
- I will unlock it myself: it stays locked until you click Unlock now next to it. Click Lock again to close it.
A locked item still shows in the hub with a lock icon and when it unlocks, but attendees can’t reach its file or link.
Manage what is in the hub
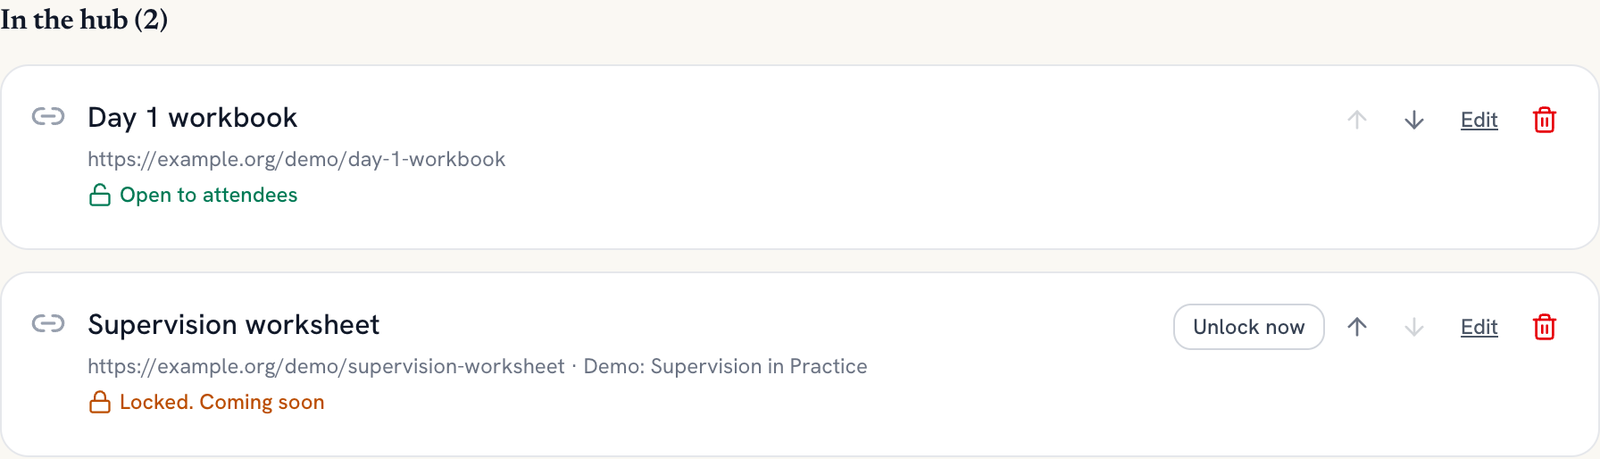
In the hub lists everything you added, with a status of Open to attendees or Locked. For each item:
- The up and down arrows (Move up, Move down) set the order attendees see.
- Edit changes the name, session, description, or unlock setting. Click Save changes.
- The trash button deletes it after you confirm. Attendees no longer see it.
Session materials shows files you added on a session’s own Materials page. They appear in the hub too, grouped by session, and stay on that session’s course page. Click a session name to open its Materials page.
Add a sponsor handout
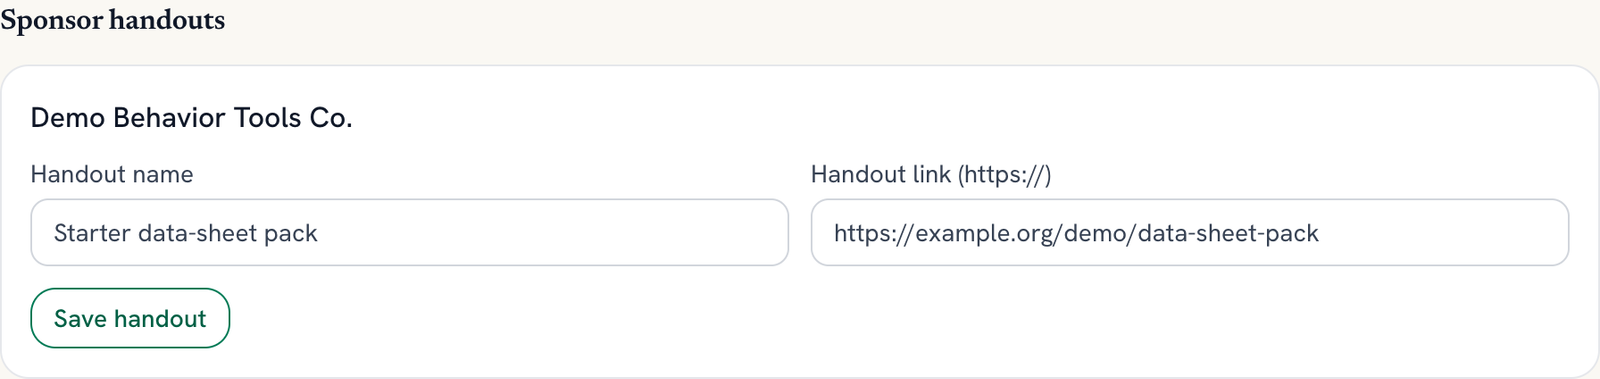
If a sponsor’s package includes the handouts and resource links placement, they appear under Sponsor handouts. For each one, fill in Handout name and Handout link (https://), then click Save handout. The handout shows in the hub under From our sponsors, marked as sponsored.
If nobody holds that placement yet, the section says so. A test conference doesn’t show sponsor handouts. To set up placements, see Sell sponsor packages for a conference. In the option dialog, read each placement’s label (Live, Coming soon, or Not available) before you promise it to a sponsor.
Share a file a speaker sent you
Files your speakers send through their speaker kit are private to you until you share them. Click Speakers at the top of the conference page and find the speaker in the roster. Next to their file, pick a session from Share with session… and click Share with attendees.
This copies the file into that session’s materials, so it shows in the hub under that session. It is never shared automatically. To take it back, click Unshare. That removes the shared copy only, and the speaker’s original stays on the Speakers page. For more on the speaker kit, see Speaker kit.
What registrants see
Once the hub has something in it, a registered attendee sees an Open the conference resources link on the conference page. The hub page is titled Conference resources and groups items under From the organizers, By session, and From our sponsors.
Someone who isn’t registered sees a message that the hub is for registered attendees, with a button to sign in or register. The hub page isn’t listed in search engines.
Still stuck? Contact support and we'll help.