Upload a recording
Upload your video once. OpenCEU converts it into a streamable course and drafts a quiz from the transcript automatically.
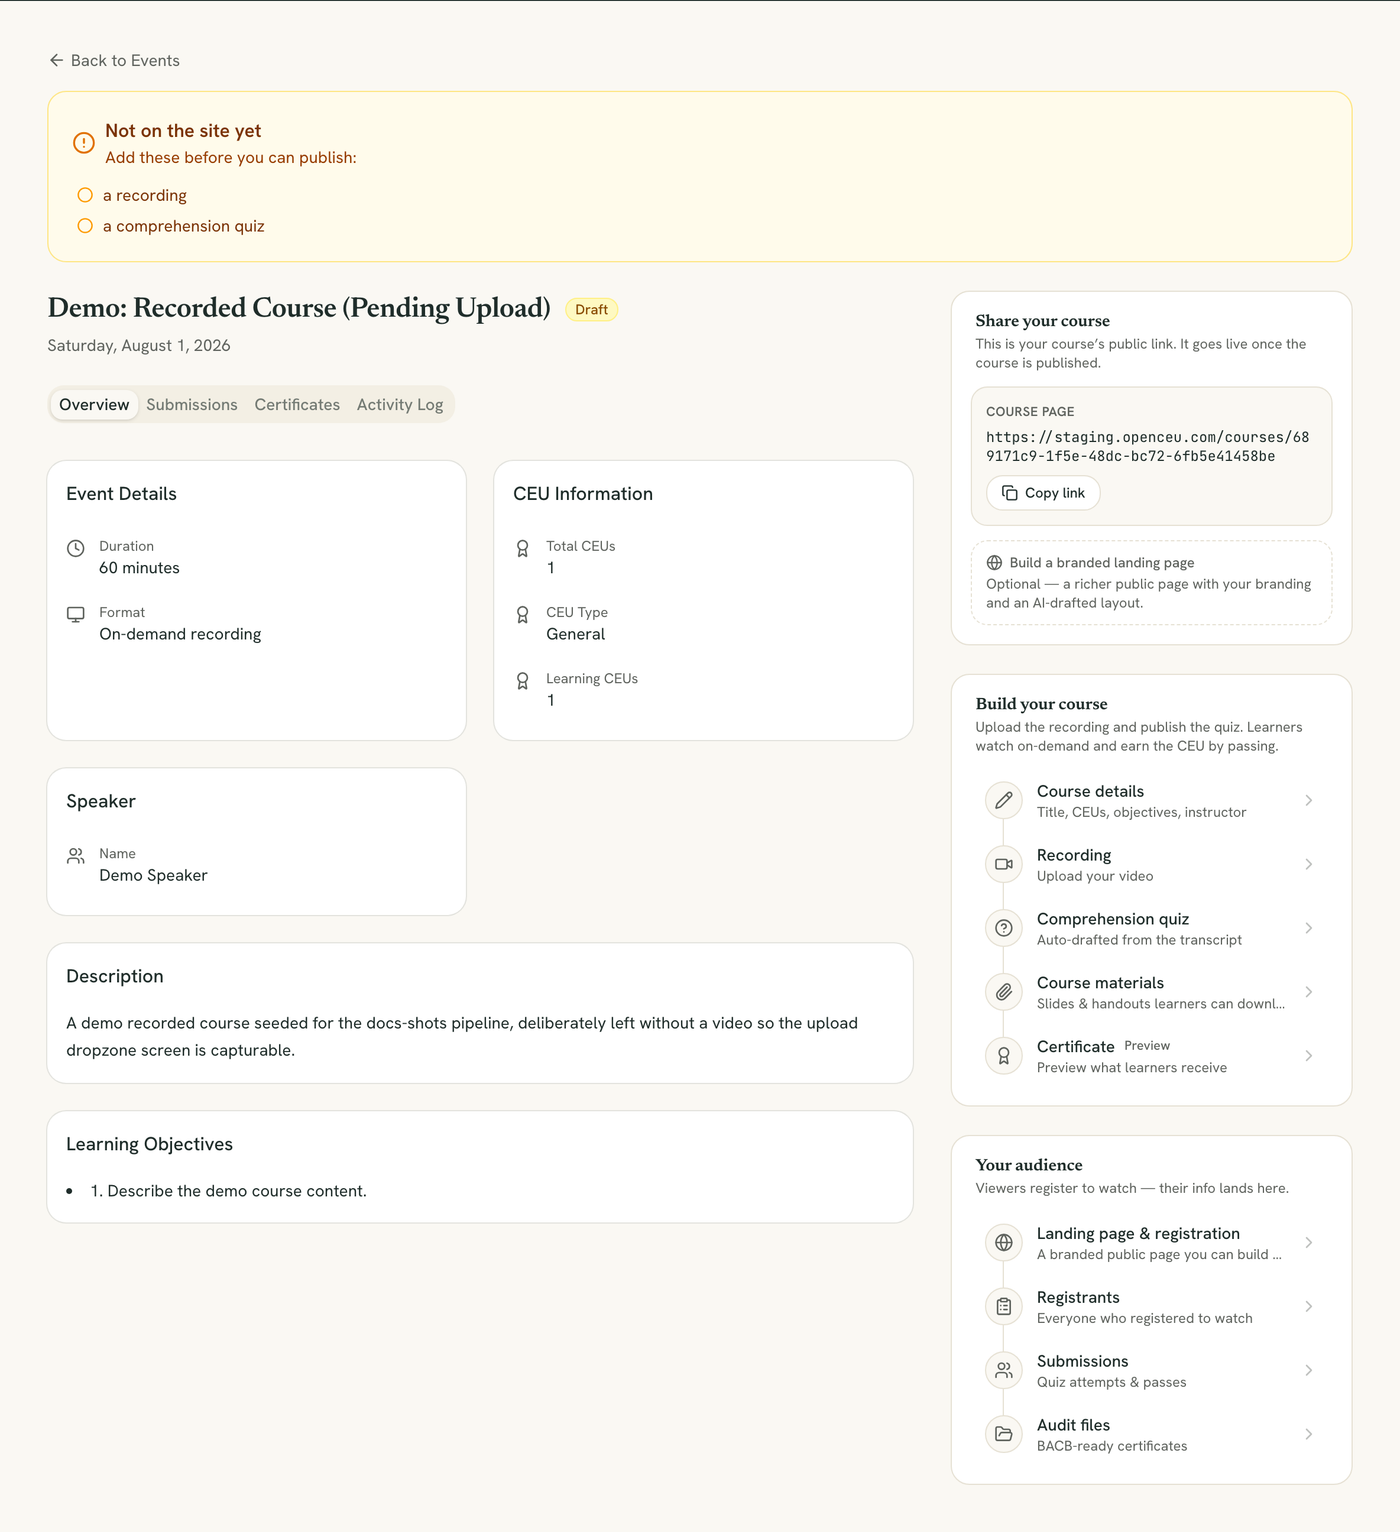
Open the Recording page
Go to your event page and click Recording in the checklist. This is where you upload your video and manage everything about it.
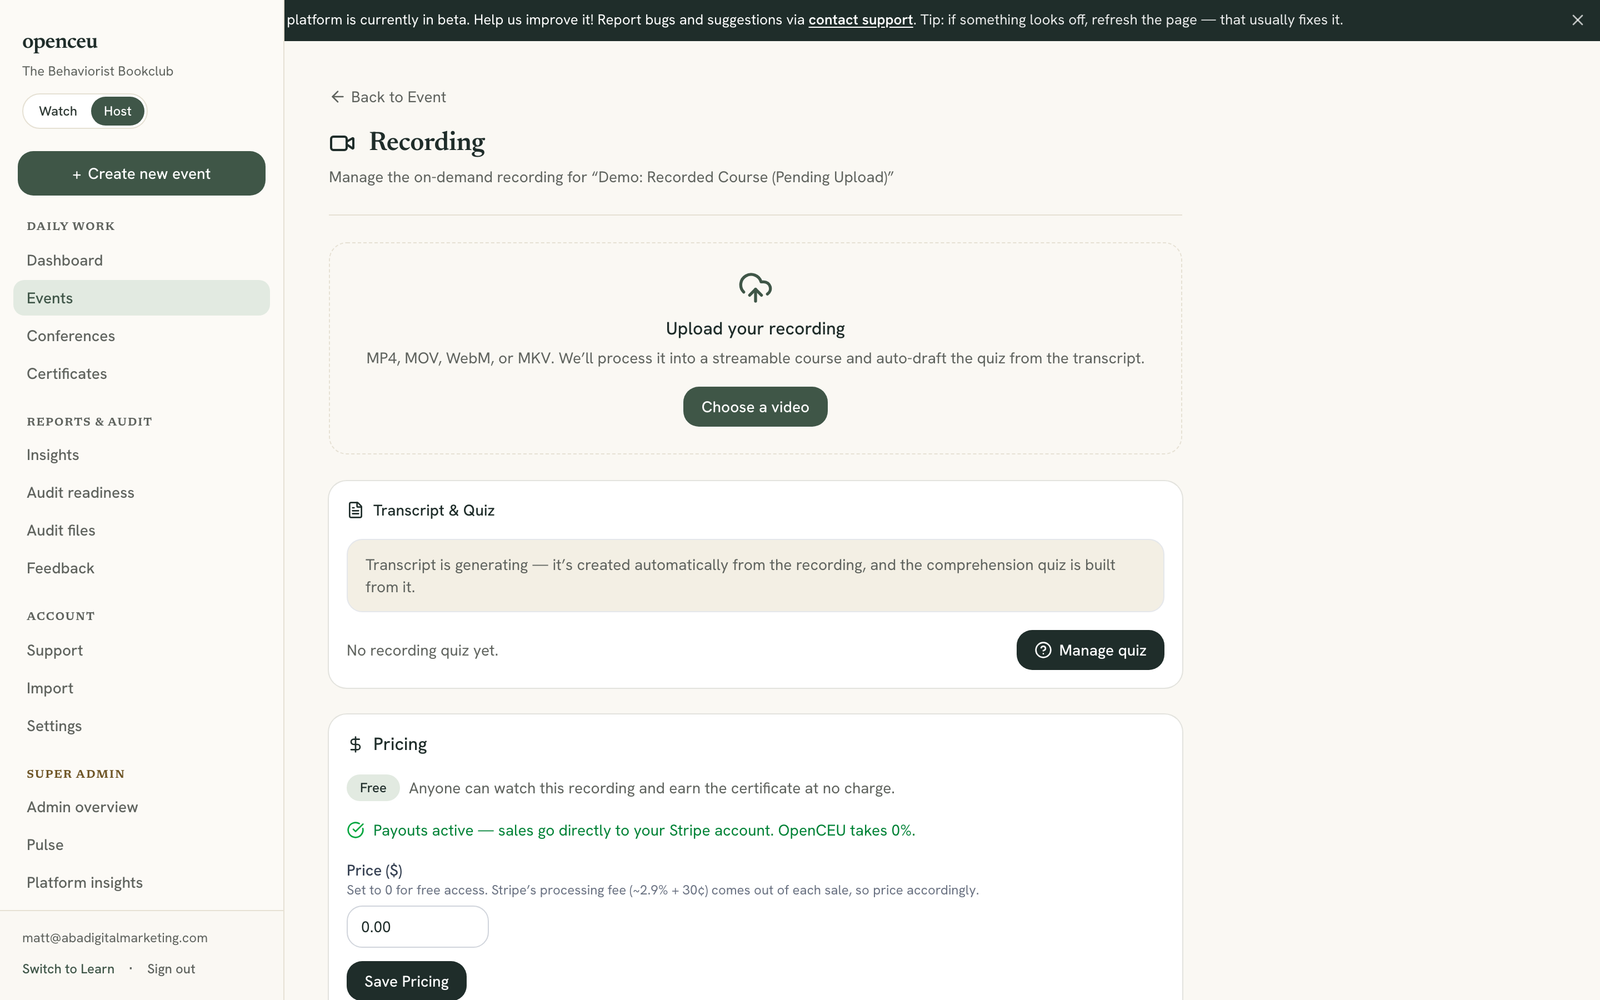
Choose a video and upload it
Click Choose a video and pick your file. OpenCEU accepts MP4, MOV, WebM, and MKV. The upload goes straight to storage, and you will see a progress bar while it sends.
Let it process
After the upload finishes, OpenCEU converts your video into a streaming format. A tracker on the page shows three stages: transcoding the video, transcribing the audio, and drafting the quiz from the transcript.
You can leave this page
Set a thumbnail
Once your video is uploaded, upload a thumbnail image too. Recommended size is 1280×720. Any image you pick is auto-cropped to fit, so course cards stay a consistent size.
Set an access window, if your agreement needs one
Some speaker agreements only allow a recording to stay on-demand for a set window after a learner registers — often six months. Under Recording Settings, use On-demand access windowto choose Indefinite (the default), 3, 6, or 12 months, or a custom number of days. Each learner’s own registration date starts their clock, so buyers and attendees keep access for the same window regardless of when they registered. A certificate a learner already earned is never affected — the window only stops future watching.
Screenshots: re-capture after staging deploy
Check the quiz that was drafted for you
When processing finishes, click Manage quiz to review the questions OpenCEU drafted from your transcript. Edit, add, or remove questions before you publish. See Publish your course for what happens next.
If the upload fails
A failed upload shows a message on the Recording page and lets you try again. See My recording upload failed.
Still stuck? Contact support and we'll help.