Create a recorded course
A recorded course has no live broadcast. You upload a video, learners watch it whenever they want, and they earn credit by passing the quiz.
Click New Event
From your dashboard, click New Event. If your organization is not approved to host live events, every new event starts as a recorded course automatically.
Choose Upload a recording
If your organization can also host live events, you will see a choice at the top of the form. Click Upload a recording. This locks in a course that learners watch on demand instead of one that broadcasts live.
You can still add a recording to a live event later
Fill in the required fields and create the event
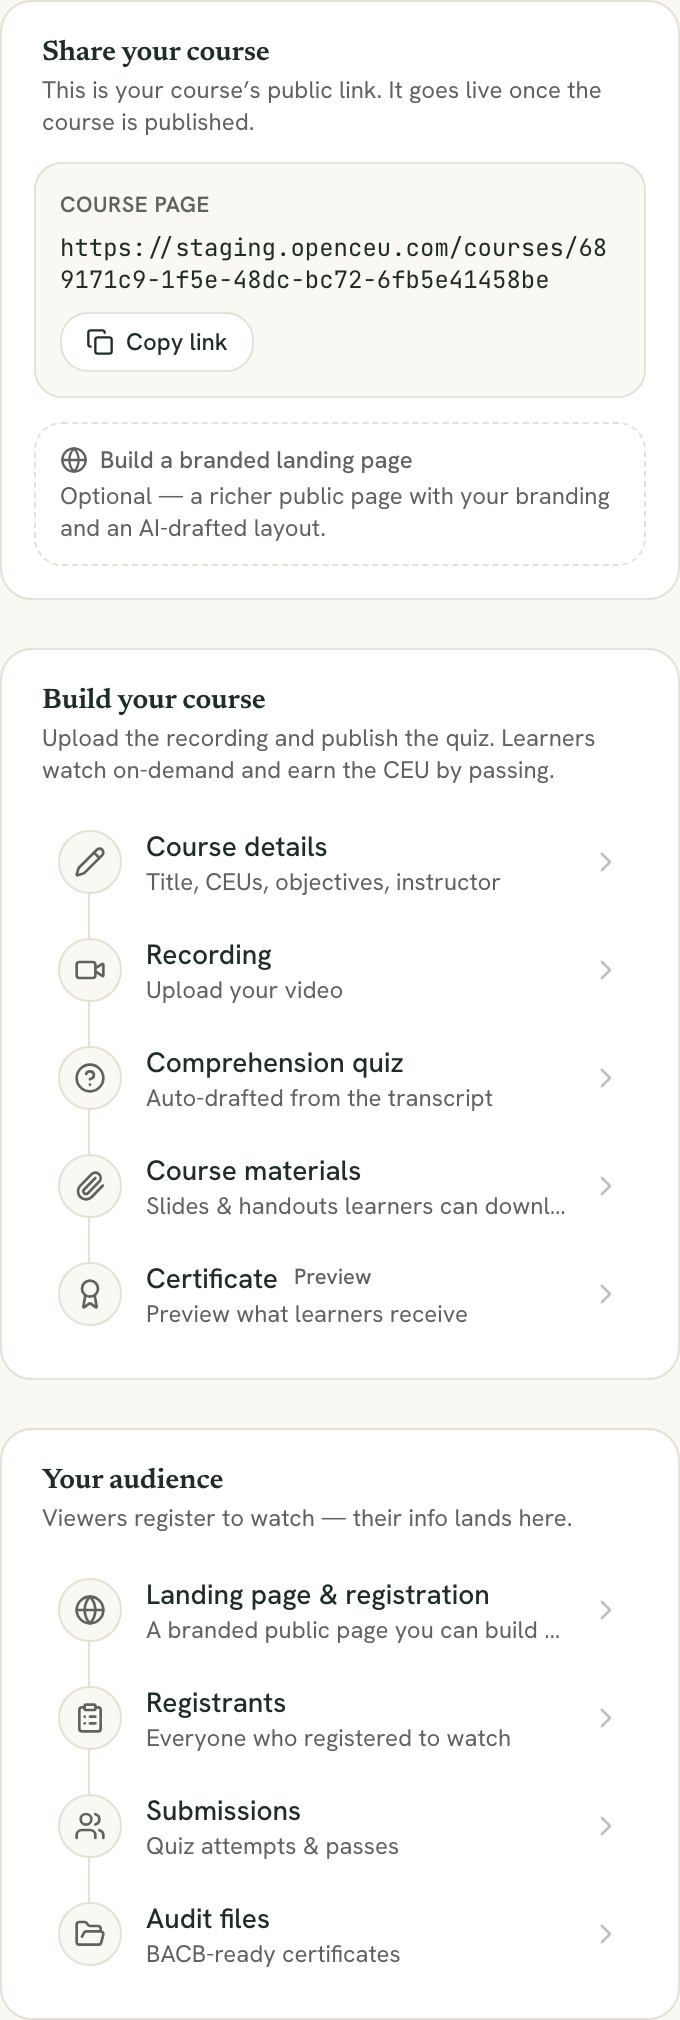
Add a title, credit value, instructor, and learning objectives. Click Create Event. You land on the event page with a short, focused checklist made for recorded courses.
Work through the checklist
The checklist has five steps:
- Course details: title, credit value, learning objectives, and instructor.
- Recording: upload your video. See Upload a recording.
- Comprehension quiz:auto-drafted from your video’s transcript once it is ready.
- Course materials: slides and handouts learners can download.
- Certificate: preview what learners receive.
A separate section covers your audience: the landing page, registrants, and quiz submissions.
Publish when you are ready
Once the checklist is complete, publish your course so it appears in the OpenCEU catalog. See Publish your course.
Still stuck? Contact support and we'll help.