Set up your organization
Everything on this page prints directly on your certificates. Fill it in before you host your first event.
Open Settings
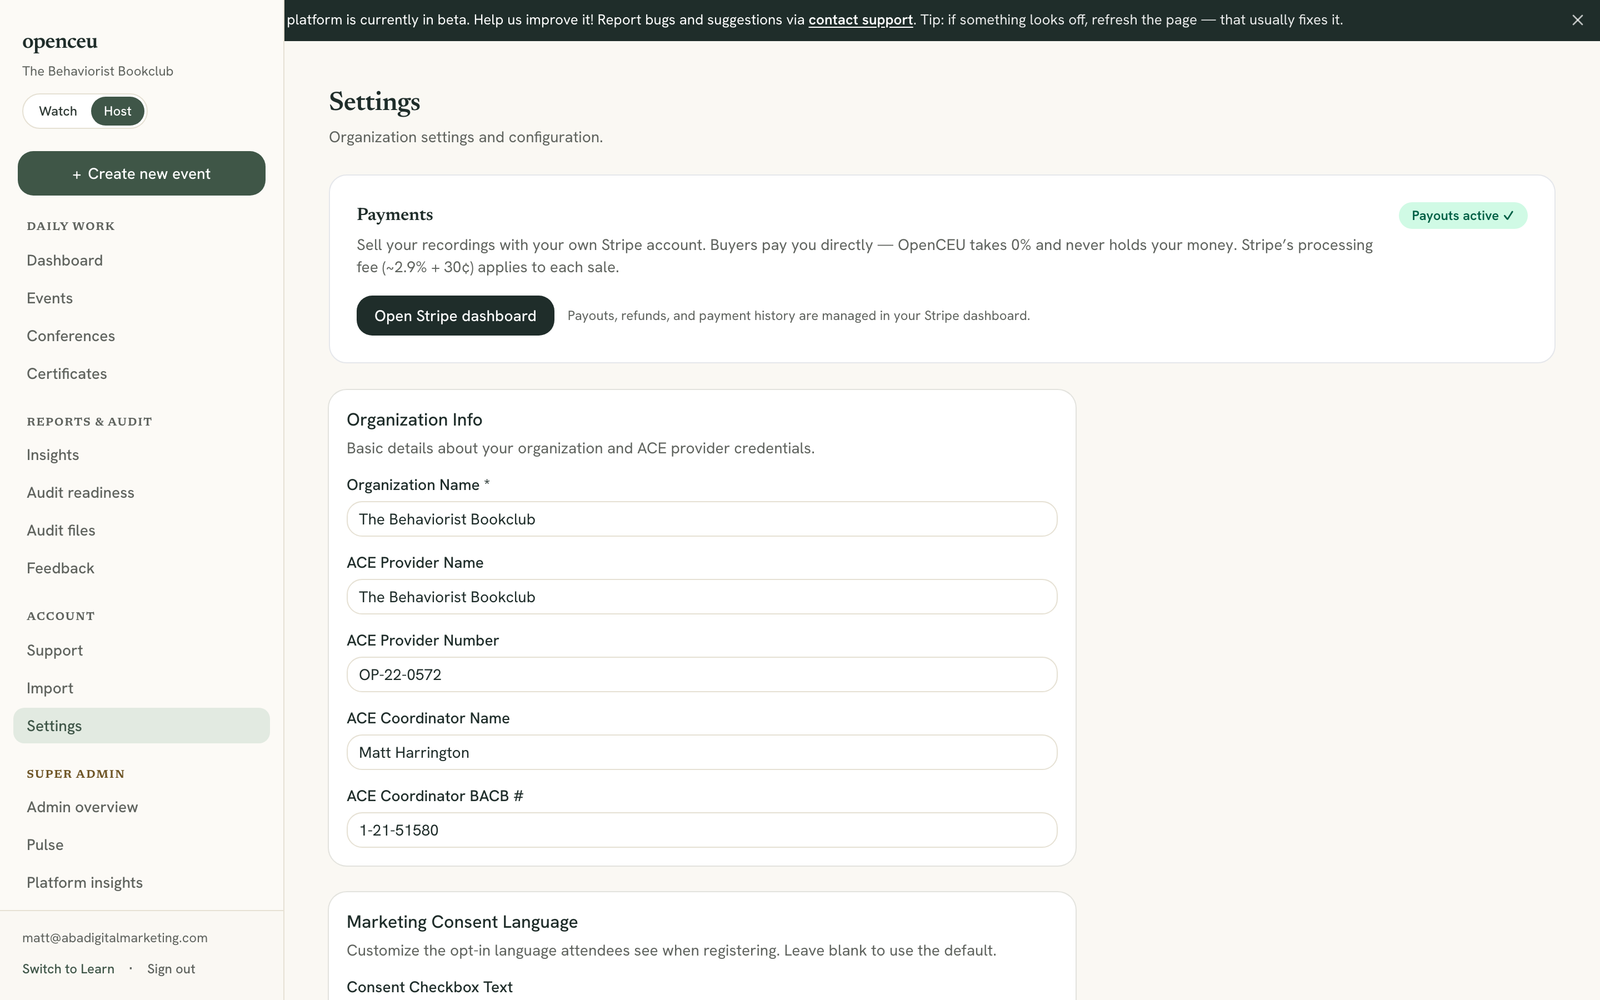
Click Settings in the sidebar, under Account.
Fill in your organization info
Under Organization Info, fill in:
- Organization Name (required)
- ACE Provider Name, as listed with the BACB
- ACE Provider Number
- ACE Coordinator Name
- ACE Coordinator BACB #
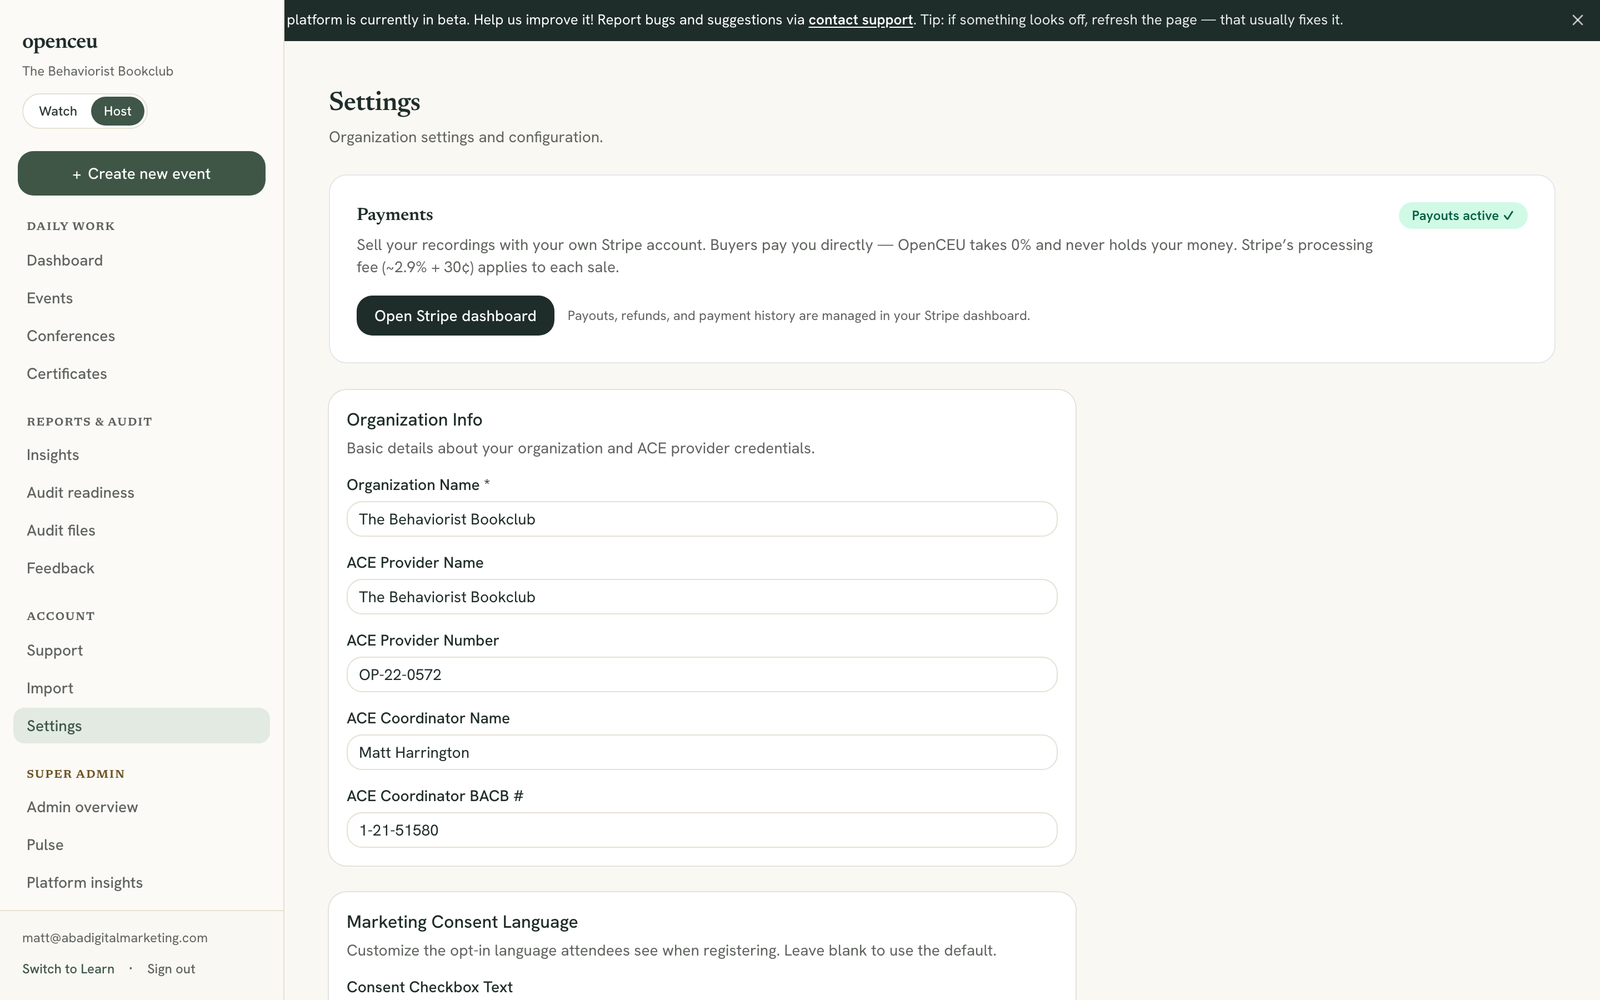
Customize the marketing consent language (optional)
The Marketing Consent Language card holds the opt-in text attendees see when they register. Leave it blank to use the default, or type your own version.
Upload your logo
Under Branding, click Upload Logo and choose an image file. It appears on certificates and your public pages. Click Replace Logo any time to swap it, or Remove to take it off.
Upload your signature block
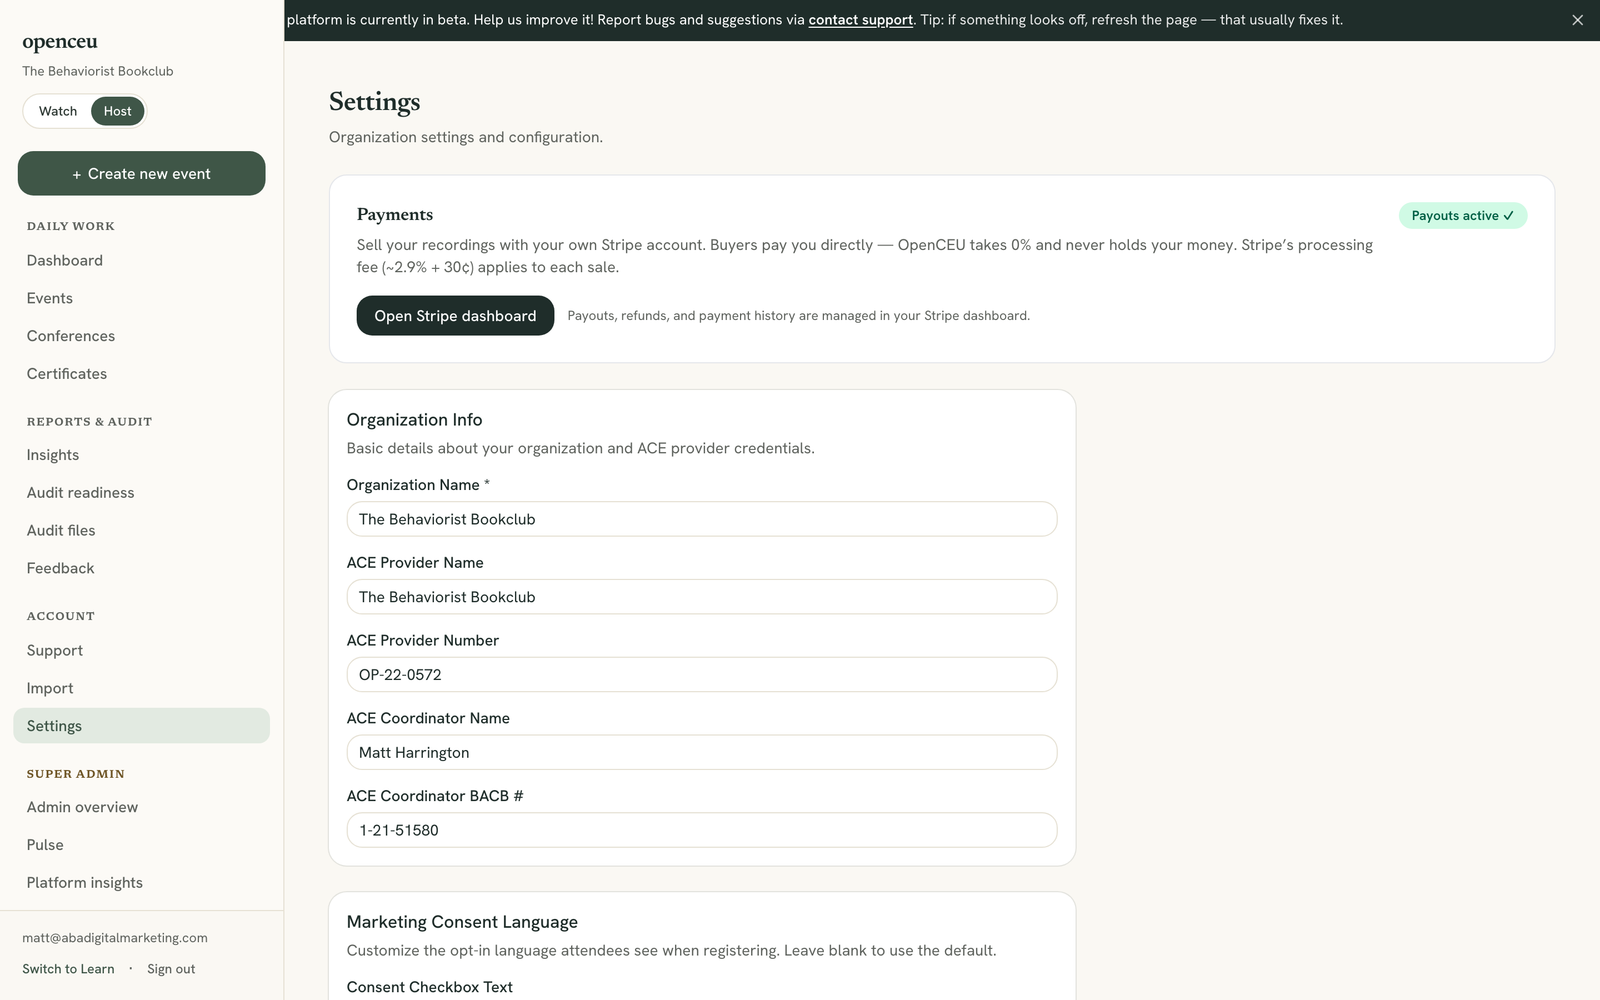
Click Upload Signature the same way. This is the coordinator signature that appears on every certificate you issue.
No signature yet? Certificates will show it as missing
Save your settings
Click Save Settings at the bottom of the page. You will see a confirmation message when it saves.
Still stuck? Contact support and we'll help.