Build your event landing page
A landing page is a branded public page people register from. Build it by hand or let AI draft it first.
Open the landing page builder
Open your event, then click Landing page & registration in the checklist.
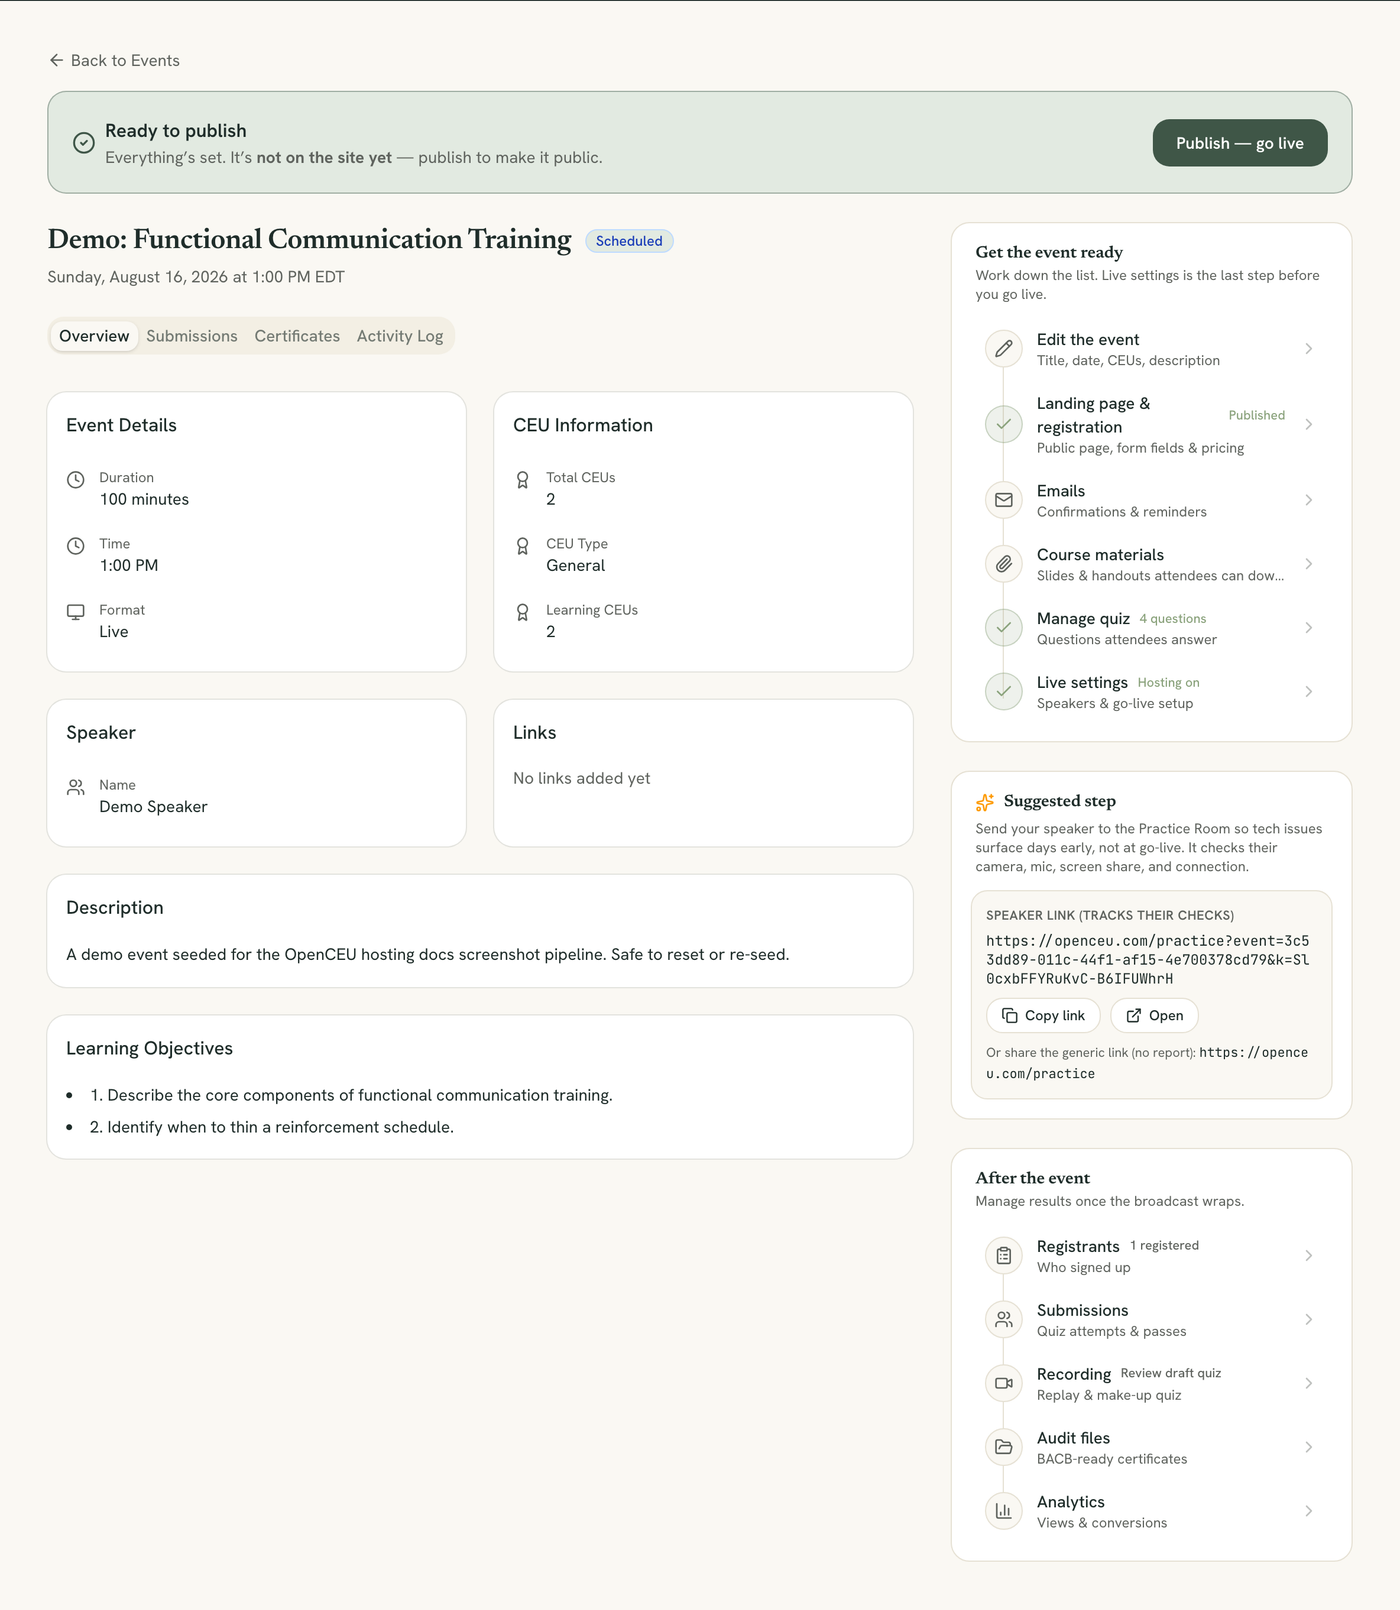
Generate with AI, or start blank
Click Generate with AI to draft every section from your event details in about a minute. You can edit anything it writes, or skip this and fill in the sections yourself.
Pick a color theme
Choose one of the 10 named themes, like Evergreen & Gold or Midnight & Sky. Each one is checked for readable text on every background it uses.
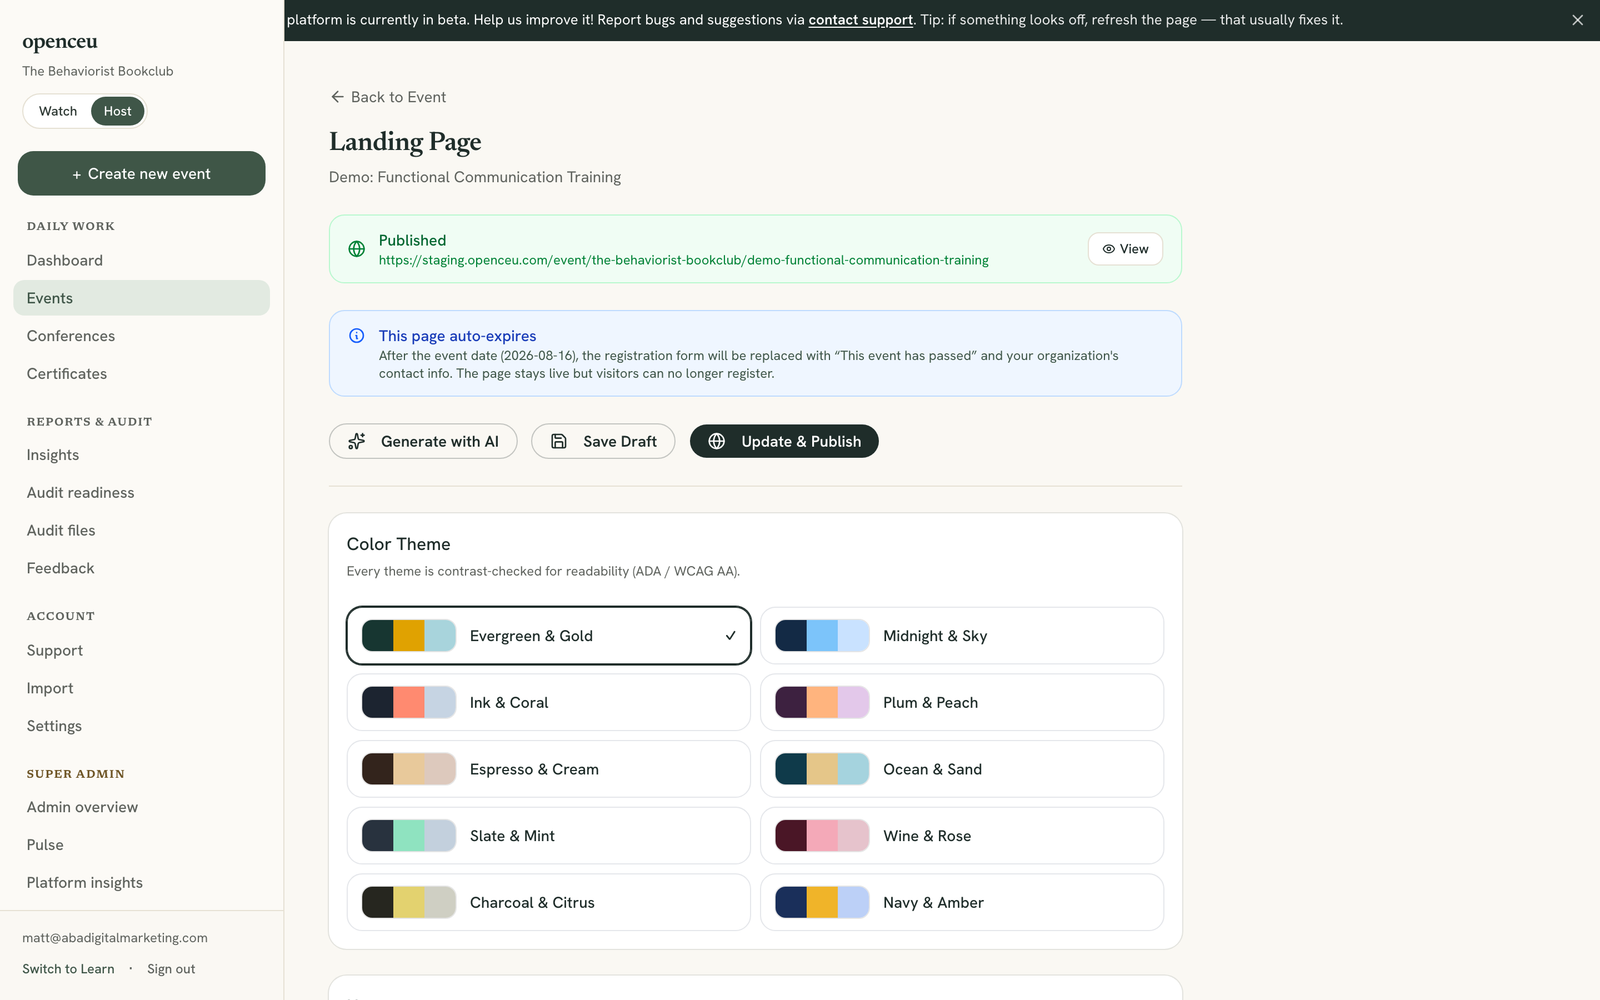
Fill in your sections
Work through each card:
- Hero: title, subtitle, and button text
- About This Event: a short description
- Speaker: name, photo URL, bio, and credentials
- Event Details & CEUs: fills in automatically from your event
- Footer: your organization info
Click Disable on any section you do not want to show, except Registration and Details.
Set your registration limit and custom fields
Under Registration Settings, optionally set a Max registrants cap. Add up to 3 custom form fields, text, phone, or dropdown, if you need to collect something extra, like a license number.
Live attendance is always free
Save a draft or publish
Click Save Draft to keep working privately, or Publish to make the page live. A draft shows a Preview link only your team can open. A published page shows the live public URL.
Live events expire, recordings don't
Still stuck? Contact support and we'll help.